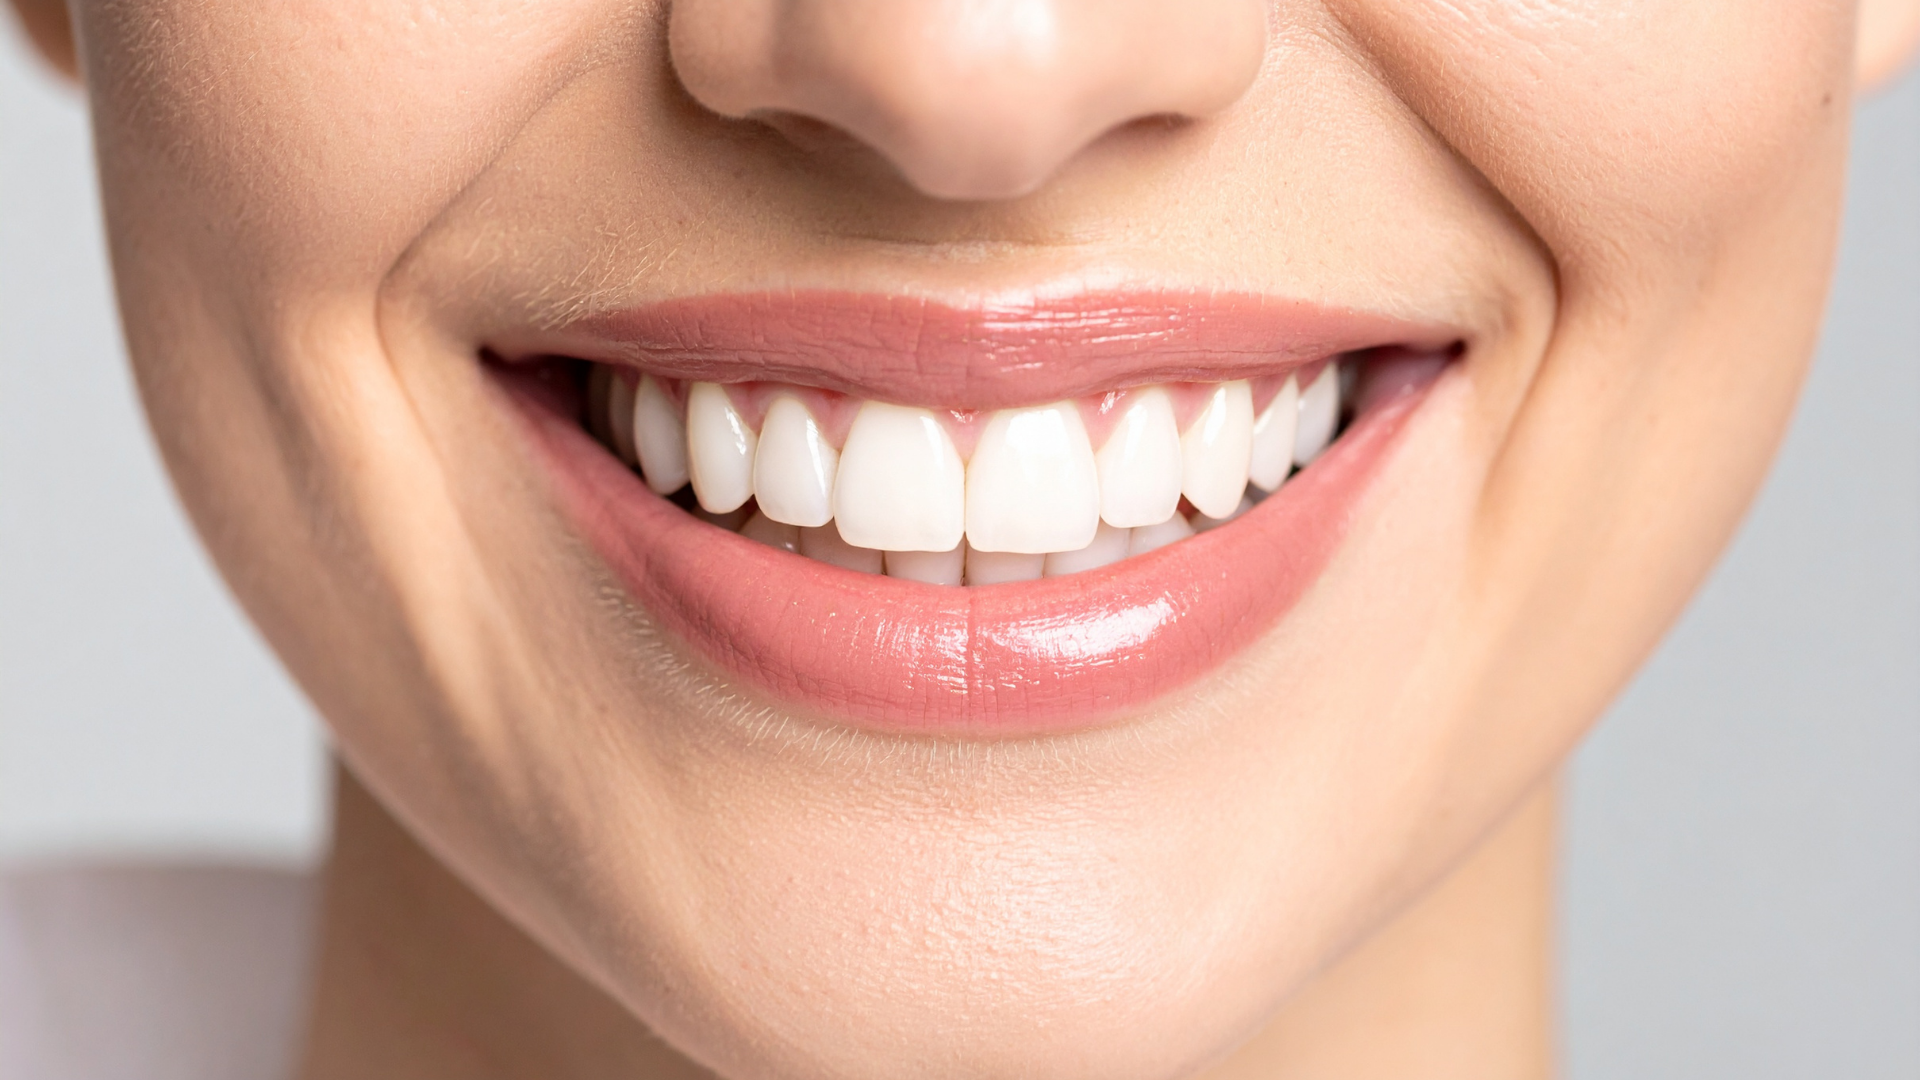
Introduction: A Perfect Smile Starts with Proper Preparation
When you see someone with a flawless smile, chances are veneers played a role. But behind every stunning smile is a careful, conservative, and skillful process known as tooth preparation.
At Bryant Street Dental in Palo Alto, CA, we believe that beauty and biology must work together. Veneers should never harm your natural teeth — they should enhance them. Understanding how teeth are prepped for veneers helps patients make confident, informed decisions before beginning their cosmetic journey.
This comprehensive guide explains exactly what happens during veneer preparation, why each step matters, and how the process ensures long-term success.
What Does “Teeth Prepped for Veneers” Mean?
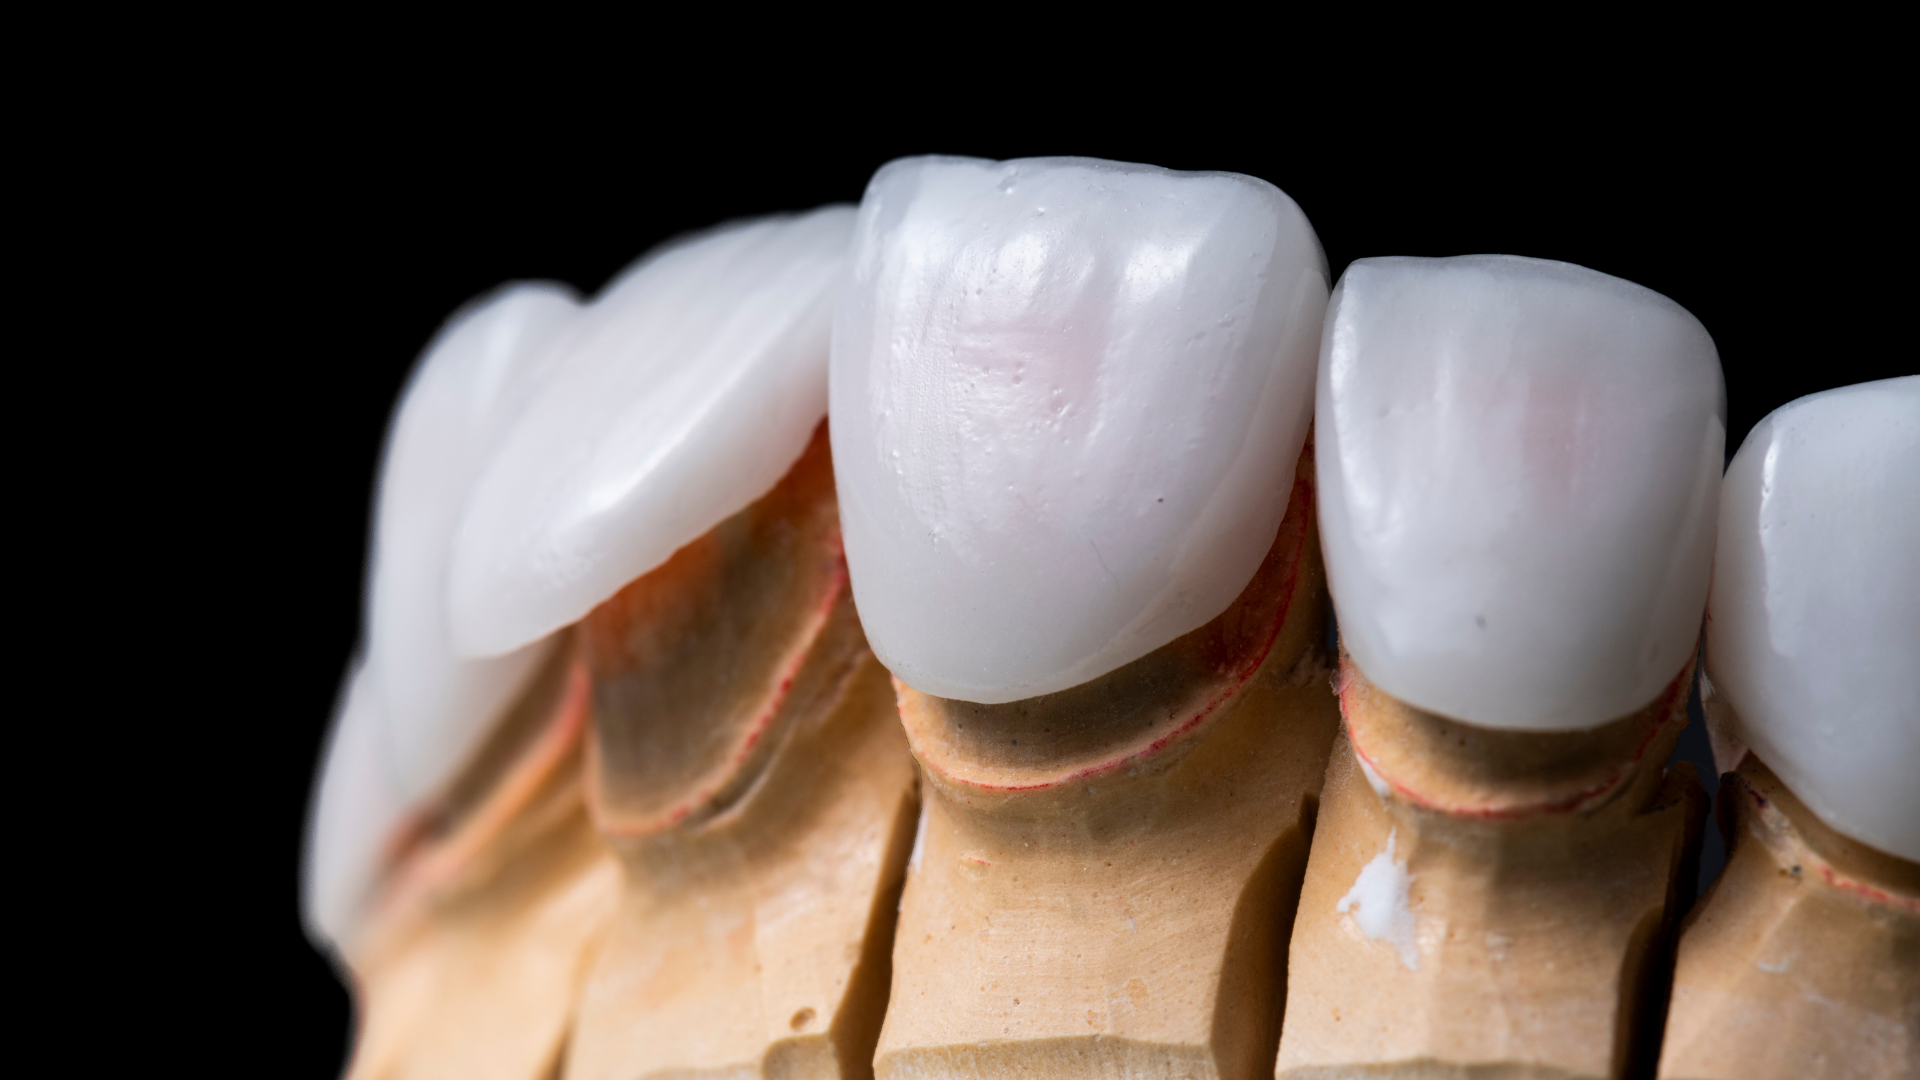
To put it simply, preparing a tooth for a veneer means shaping and refining the enamel surface so the veneer can fit securely and naturally. Veneers are thin shells — often made of porcelain or composite resin — that are custom-designed to match your smile’s ideal shape, size, and color.
Proper preparation ensures:
- The veneer fits seamlessly without looking bulky
- The bonding material adheres effectively to the enamel
- The gumline remains healthy and natural-looking
- The tooth retains maximum structural strength
Without precise preparation, even the most beautiful veneer can appear unnatural or feel uncomfortable. That’s why at Bryant Street Dental, every veneer case starts with careful planning and precision.
Why Tooth Preparation Is So Important
Many people worry that veneers require “shaving down” their teeth excessively. In reality, modern veneer prep is conservative and minimally invasive.
Here’s why it’s necessary:
1. For Proper Fit and Alignment
Your teeth are three-dimensional, meaning each has curves and contours. Veneers need a smooth, even surface to adhere to, which is achieved by gently reducing a small amount of enamel — typically 0.3–1.0 mm depending on your case.
2. To Prevent a Bulky Look
If veneers were placed directly on unaltered teeth, they might stick out unnaturally. Proper prep allows veneers to sit flush with your natural teeth, maintaining a realistic, proportional smile.
3. To Improve Bond Strength
Bonding materials adhere best to slightly roughened enamel. This micro-texture allows for stronger, longer-lasting adhesion between the veneer and tooth.
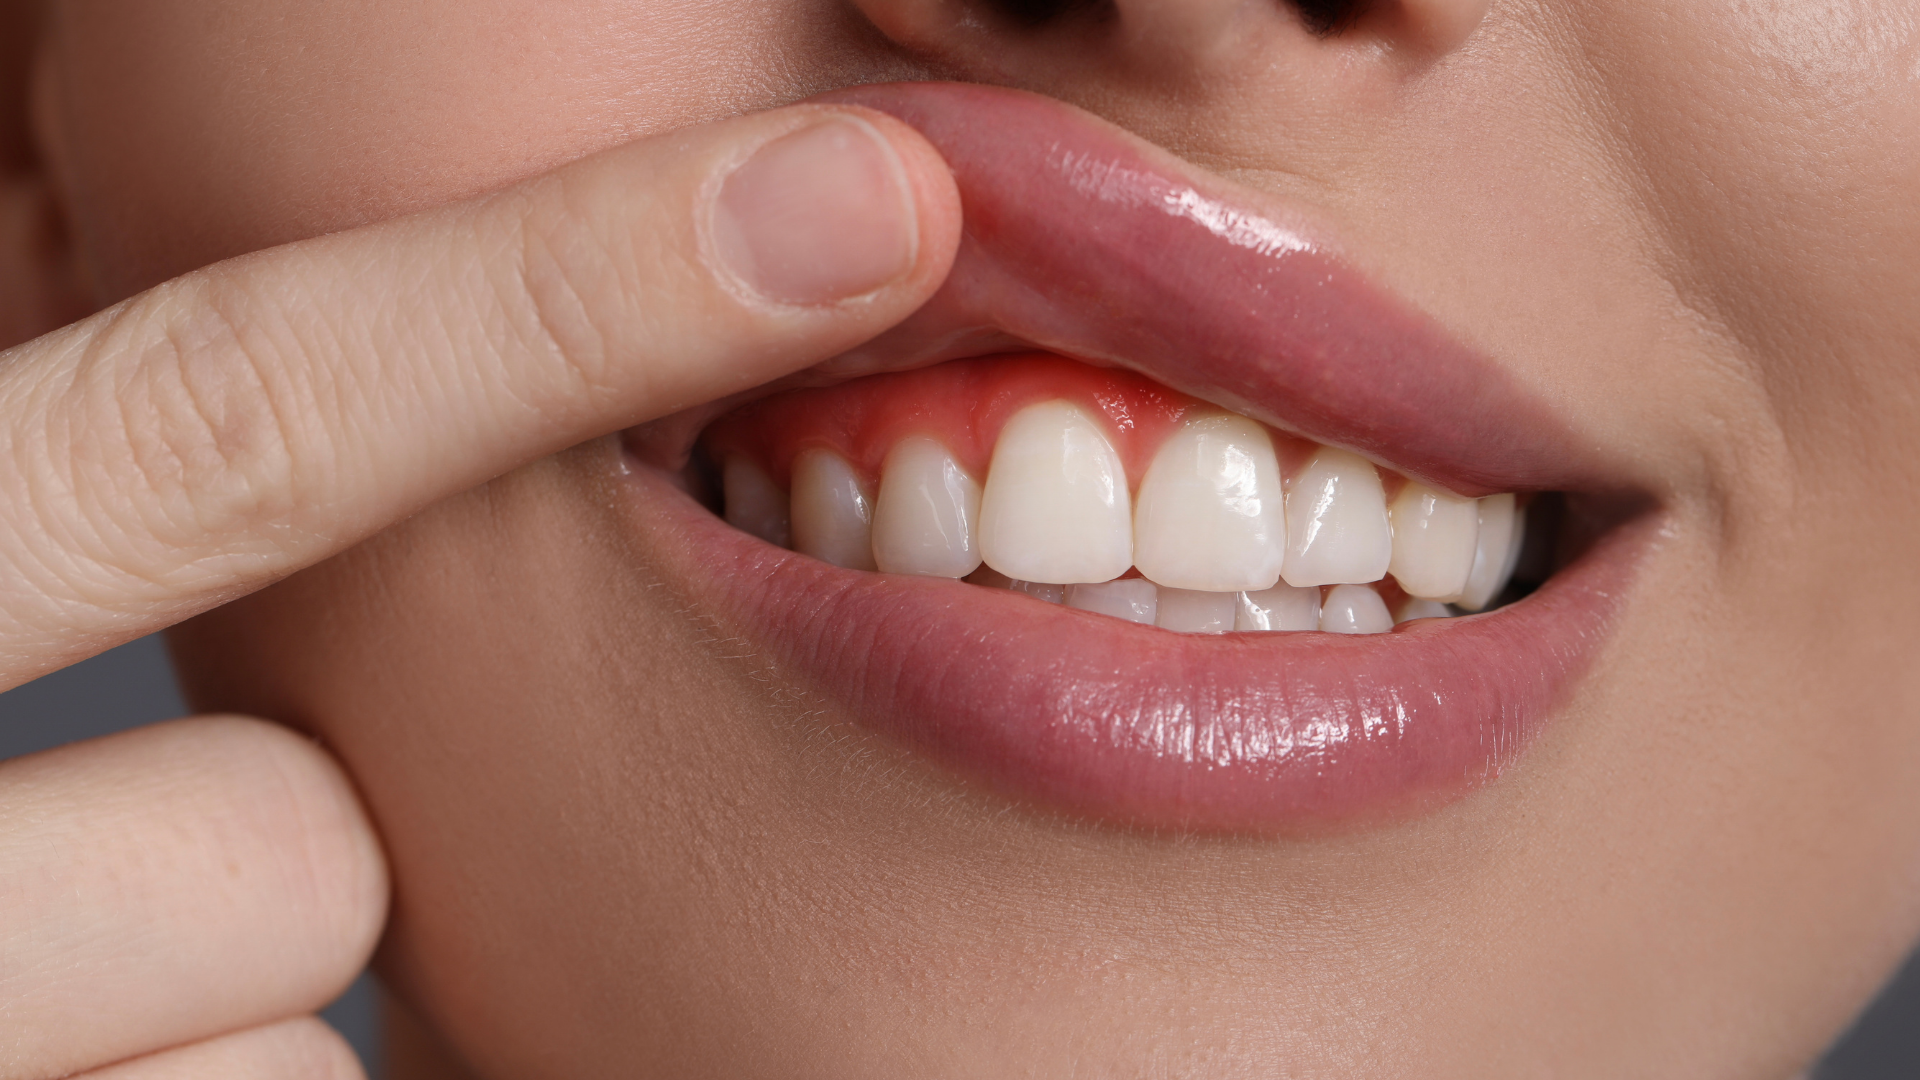
4. To Maintain Gum Health
Proper margin design (where the veneer meets the gumline) ensures there’s no irritation or buildup, which keeps your gums healthy and comfortable.
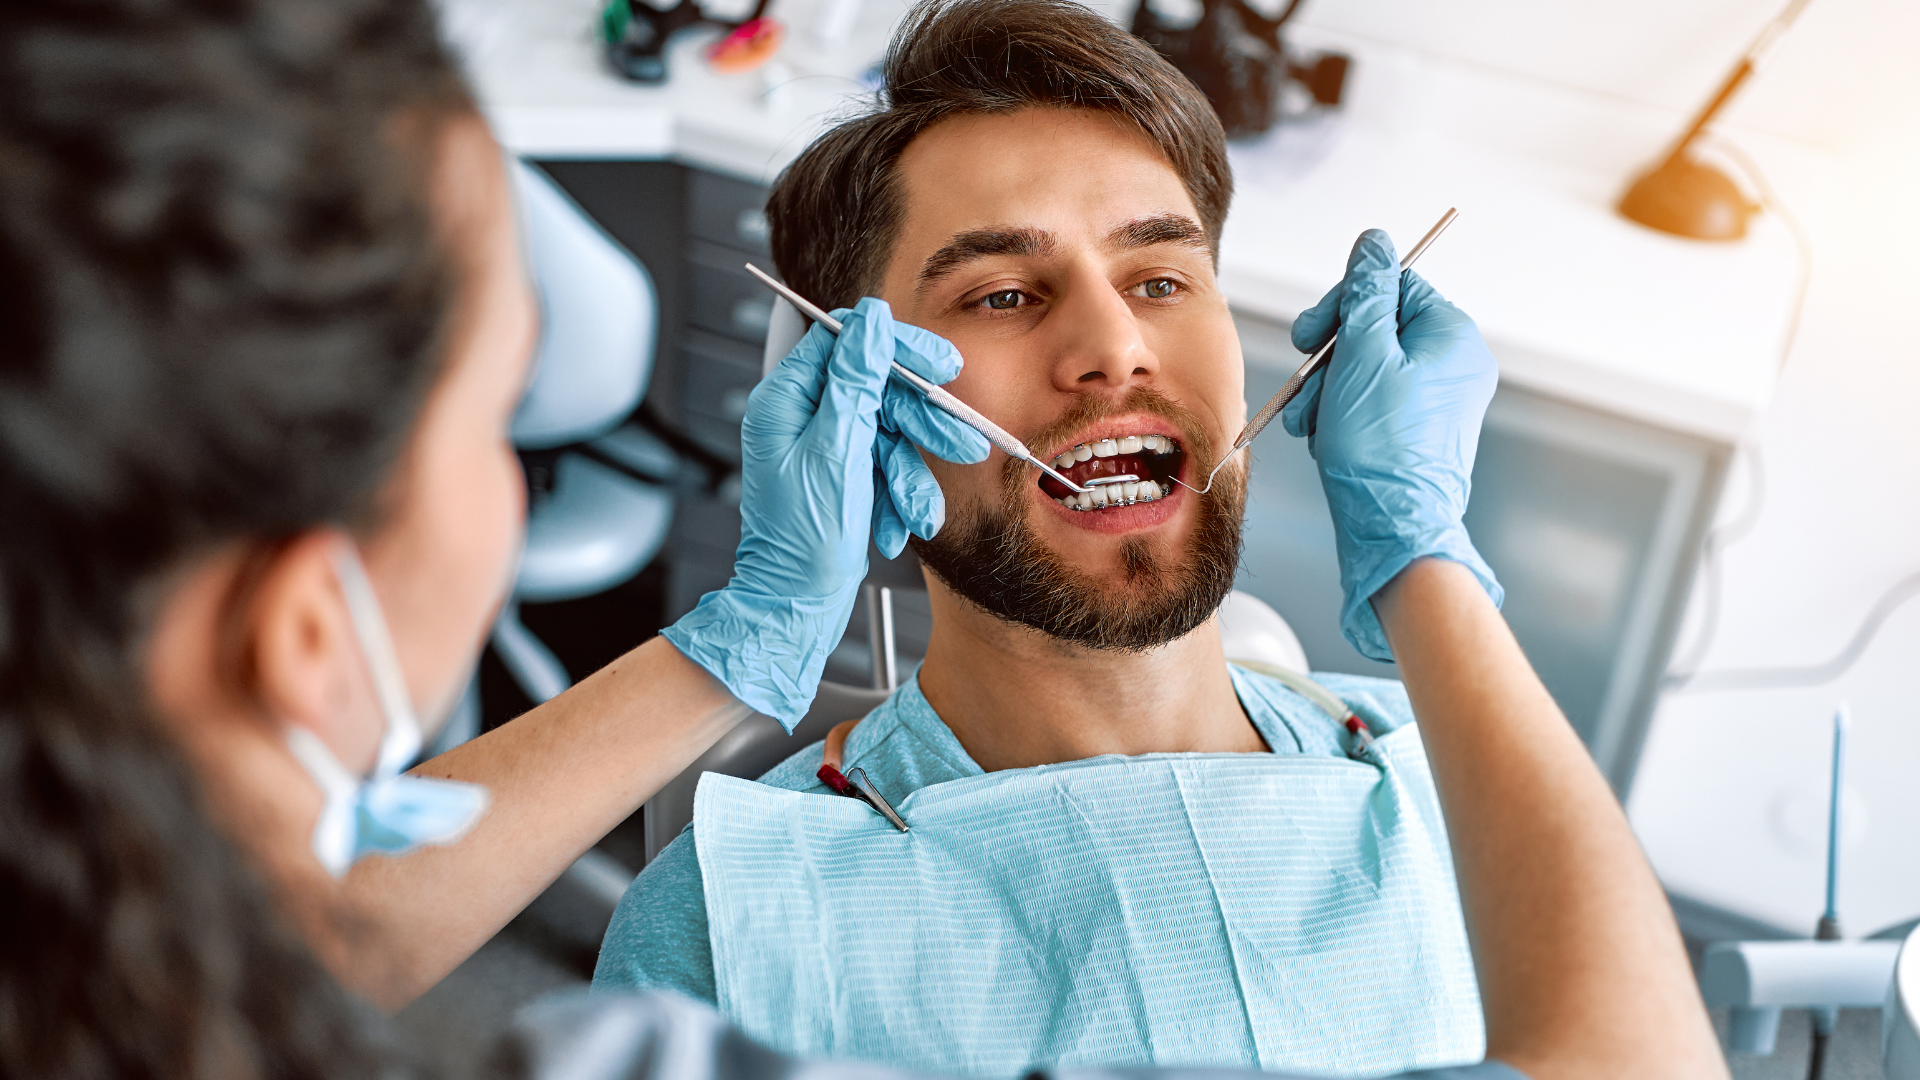
Step-by-Step: How Teeth Are Prepped for Veneers
Every cosmetic dentist may have a slightly different technique, but at Bryant Street Dental, our Palo Alto specialists follow a meticulous, patient-focused process designed to preserve as much of your natural enamel as possible.
Step 1: Consultation and Smile Design
Before any preparation begins, we start with a comprehensive consultation.
During this visit, your dentist:
- Evaluates your oral health (checking for cavities, gum disease, or old restorations)
- Discusses your cosmetic goals (shade, shape, alignment)
- Takes digital X-rays and scans
- Creates a
digital smile design or
mock-up to preview the final result
This planning stage ensures your veneers look and feel completely natural while complementing your facial features.
Step 2: Depth Marking and Minimal Enamel Reduction
Once your smile design is approved, the dentist marks shallow depth grooves on the enamel surface. These grooves act as guides to ensure consistent, minimal reduction across all treated teeth.
Only a small amount of enamel — often less than the thickness of a fingernail — is removed. This allows the veneer to blend seamlessly without adding bulk.
At Bryant Street Dental, we use magnification and fine diamond burs for ultimate precision, ensuring that only what’s absolutely necessary is removed.
Step 3: Refining the Tooth Shape
After enamel reduction, the tooth’s edges and surfaces are gently smoothed. The proximal (side) areas and incisal (biting edge) may also be slightly adjusted to provide the best possible contour and veneer fit.
Every curve is carefully shaped to ensure your final veneers have a symmetrical, natural look that harmonizes with your other teeth.
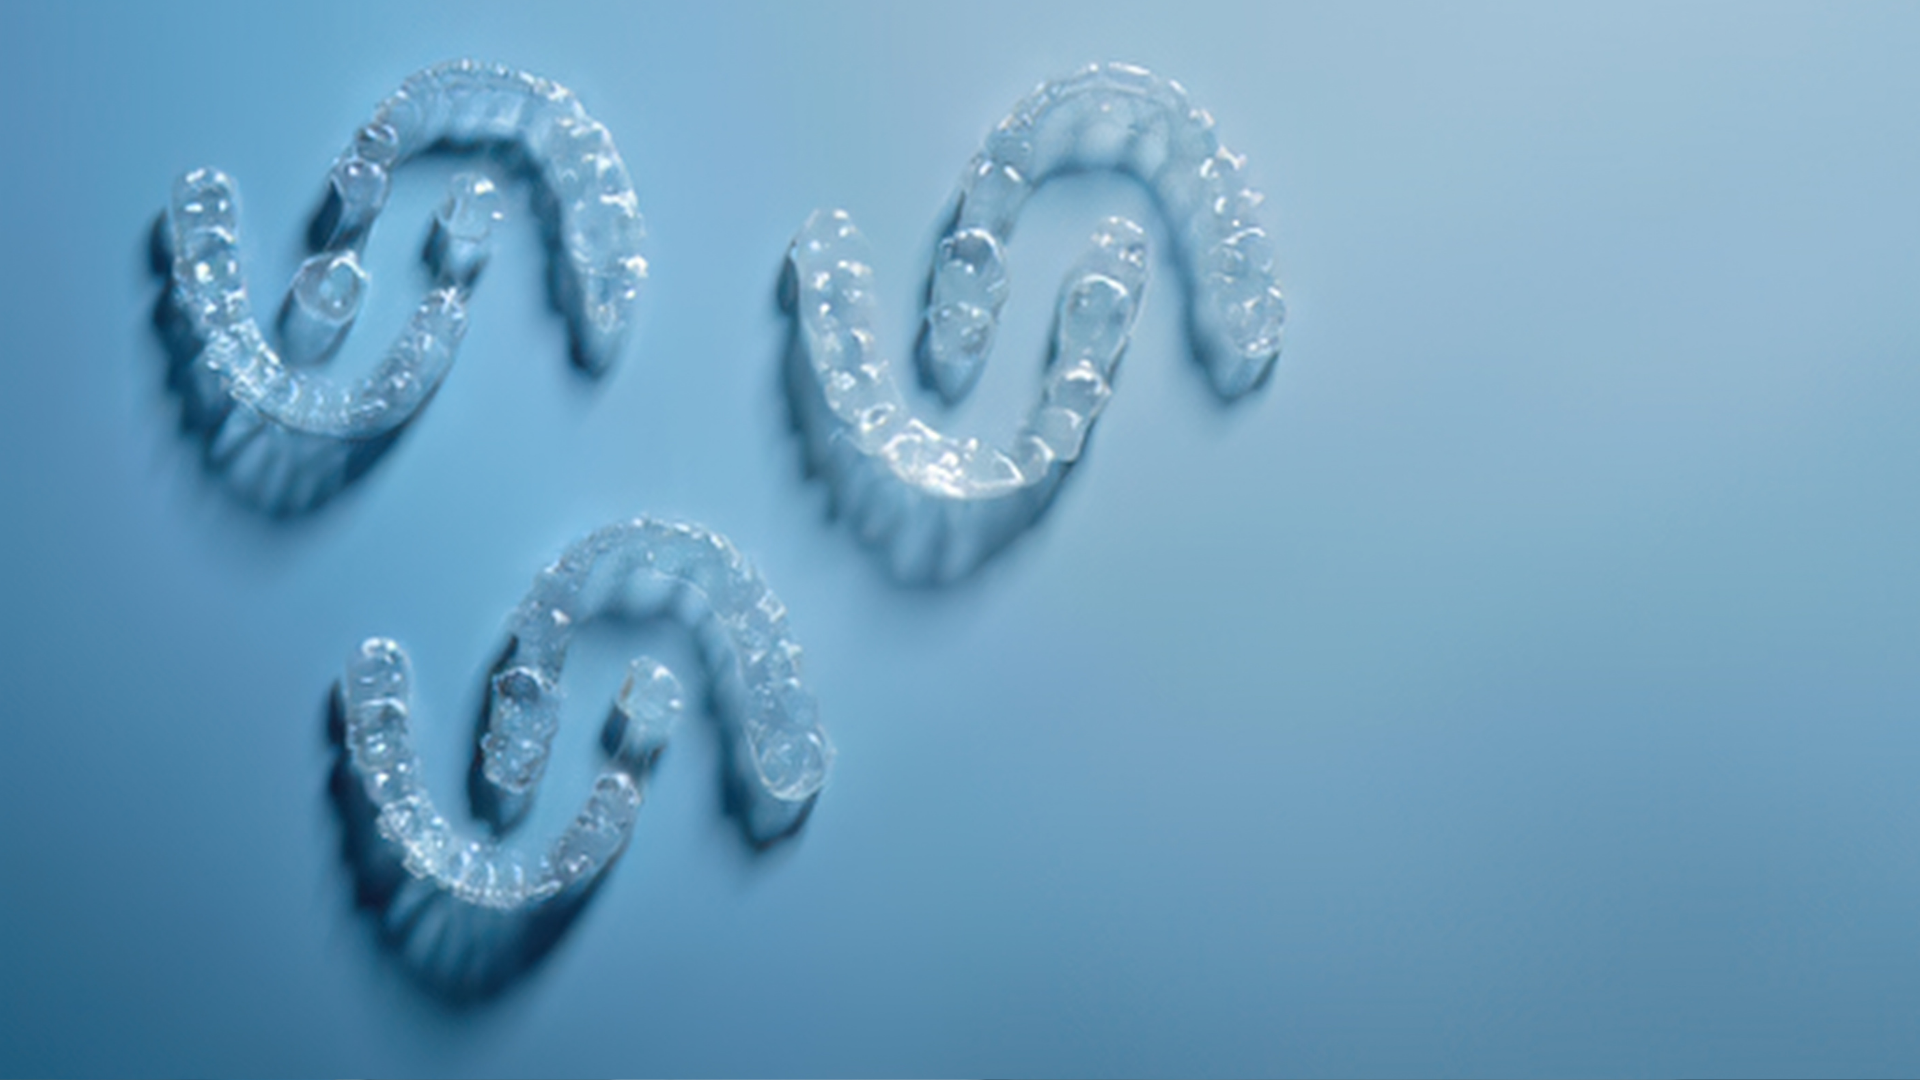
Step 4: Impressions or Digital Scans
Once the teeth are prepped, we take an impression or digital 3D scan of your mouth. This model is sent to a specialized dental lab where your veneers are custom-crafted.
Digital scans have become the gold standard — they’re more comfortable, highly accurate, and faster than traditional impressions. This step guarantees that your veneers will fit perfectly down to the micron.
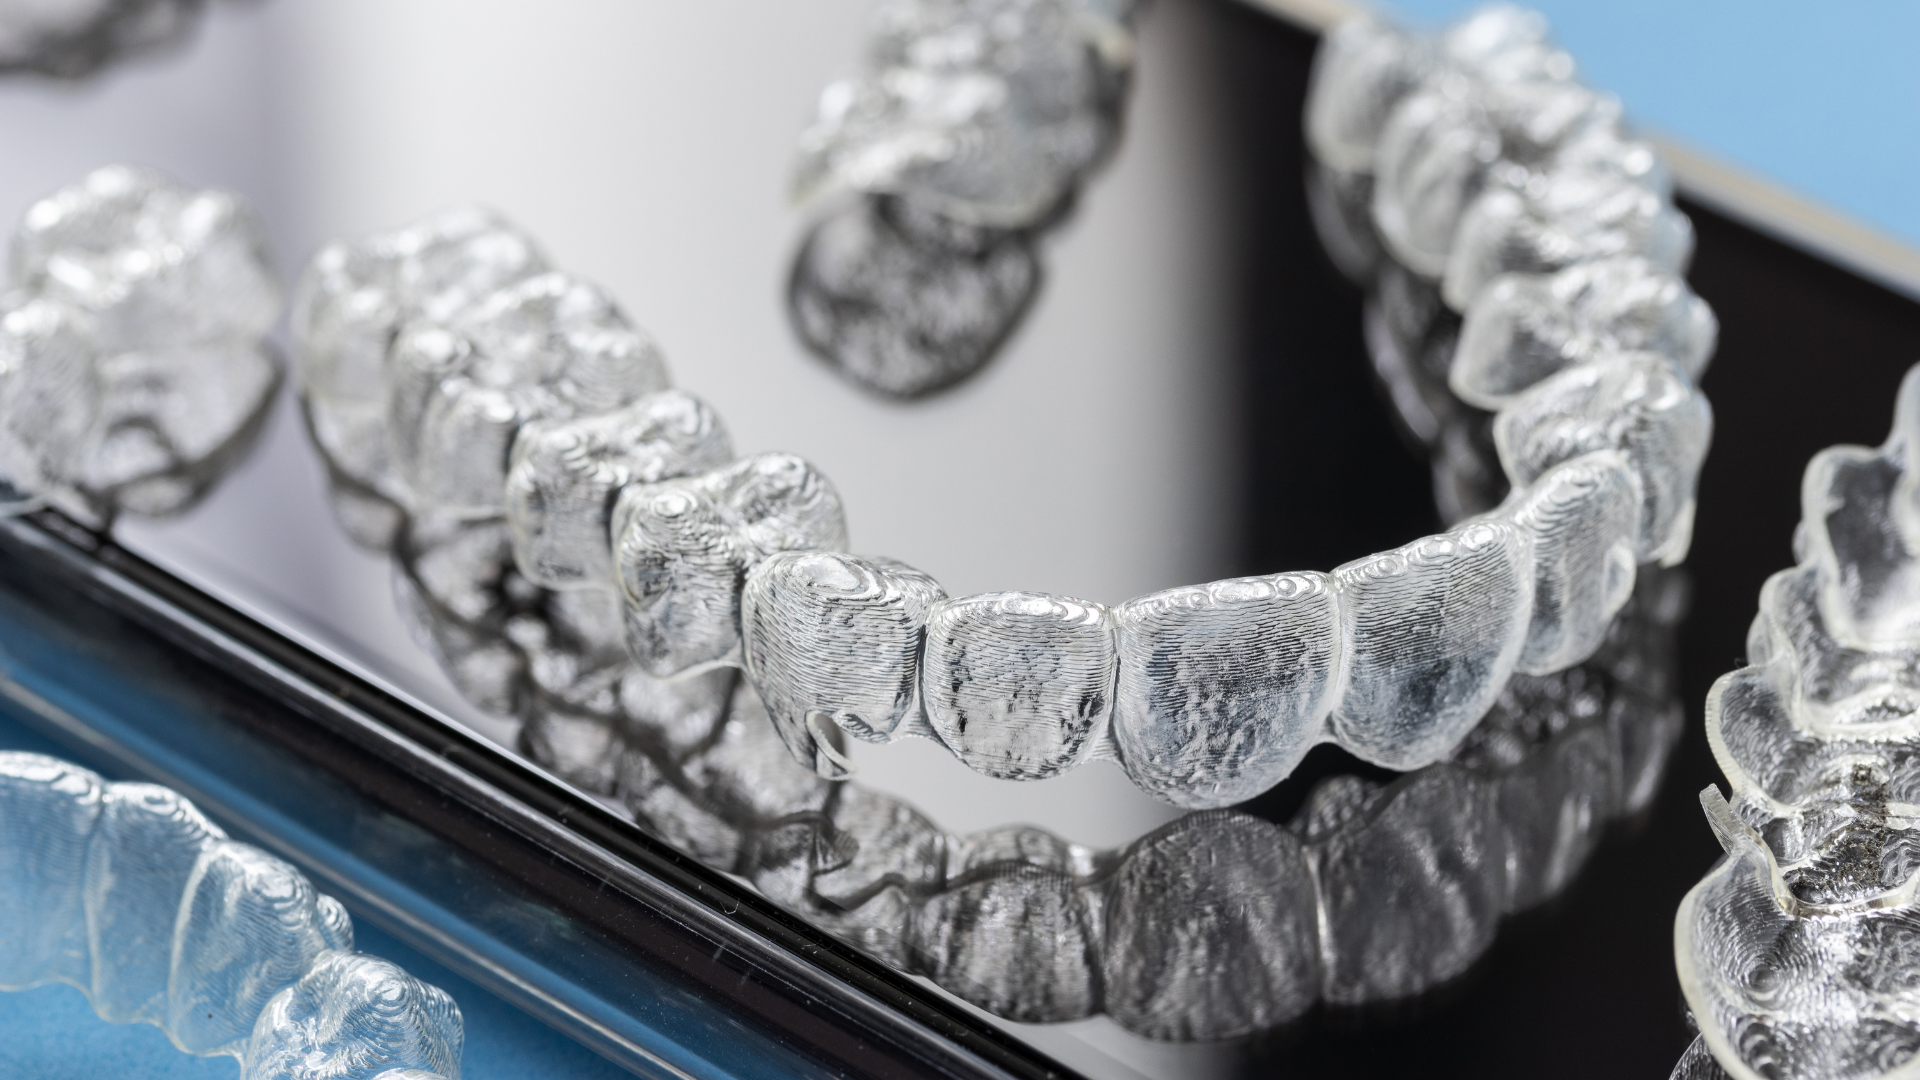
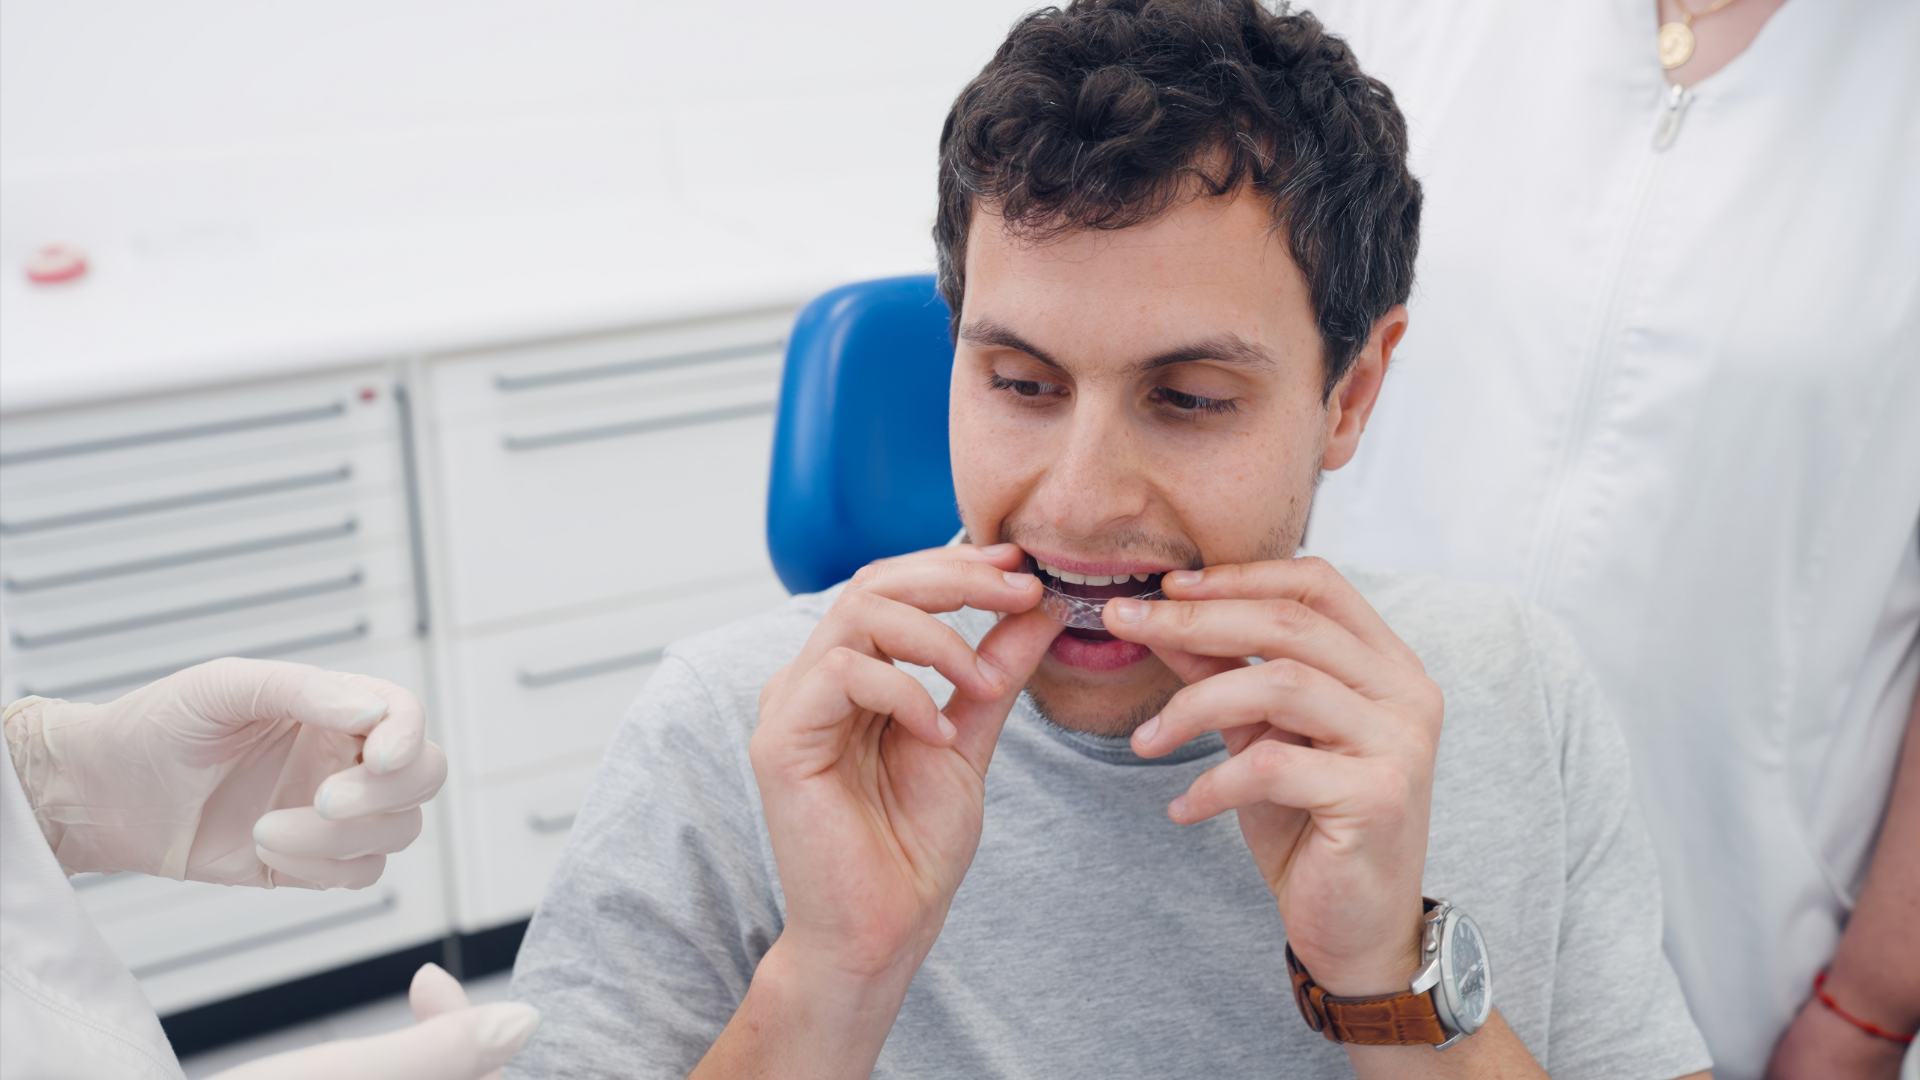
Step 5: Temporary Veneers
While your permanent veneers are being fabricated, temporary veneers are placed. These serve two purposes:
- Protection
– They protect your prepped teeth from sensitivity.
- Aesthetic Preview – You can test how your new smile looks and feels before the final bonding.
Our Palo Alto patients appreciate this preview because it allows minor tweaks in shape or shade before the permanent veneers are finalized.
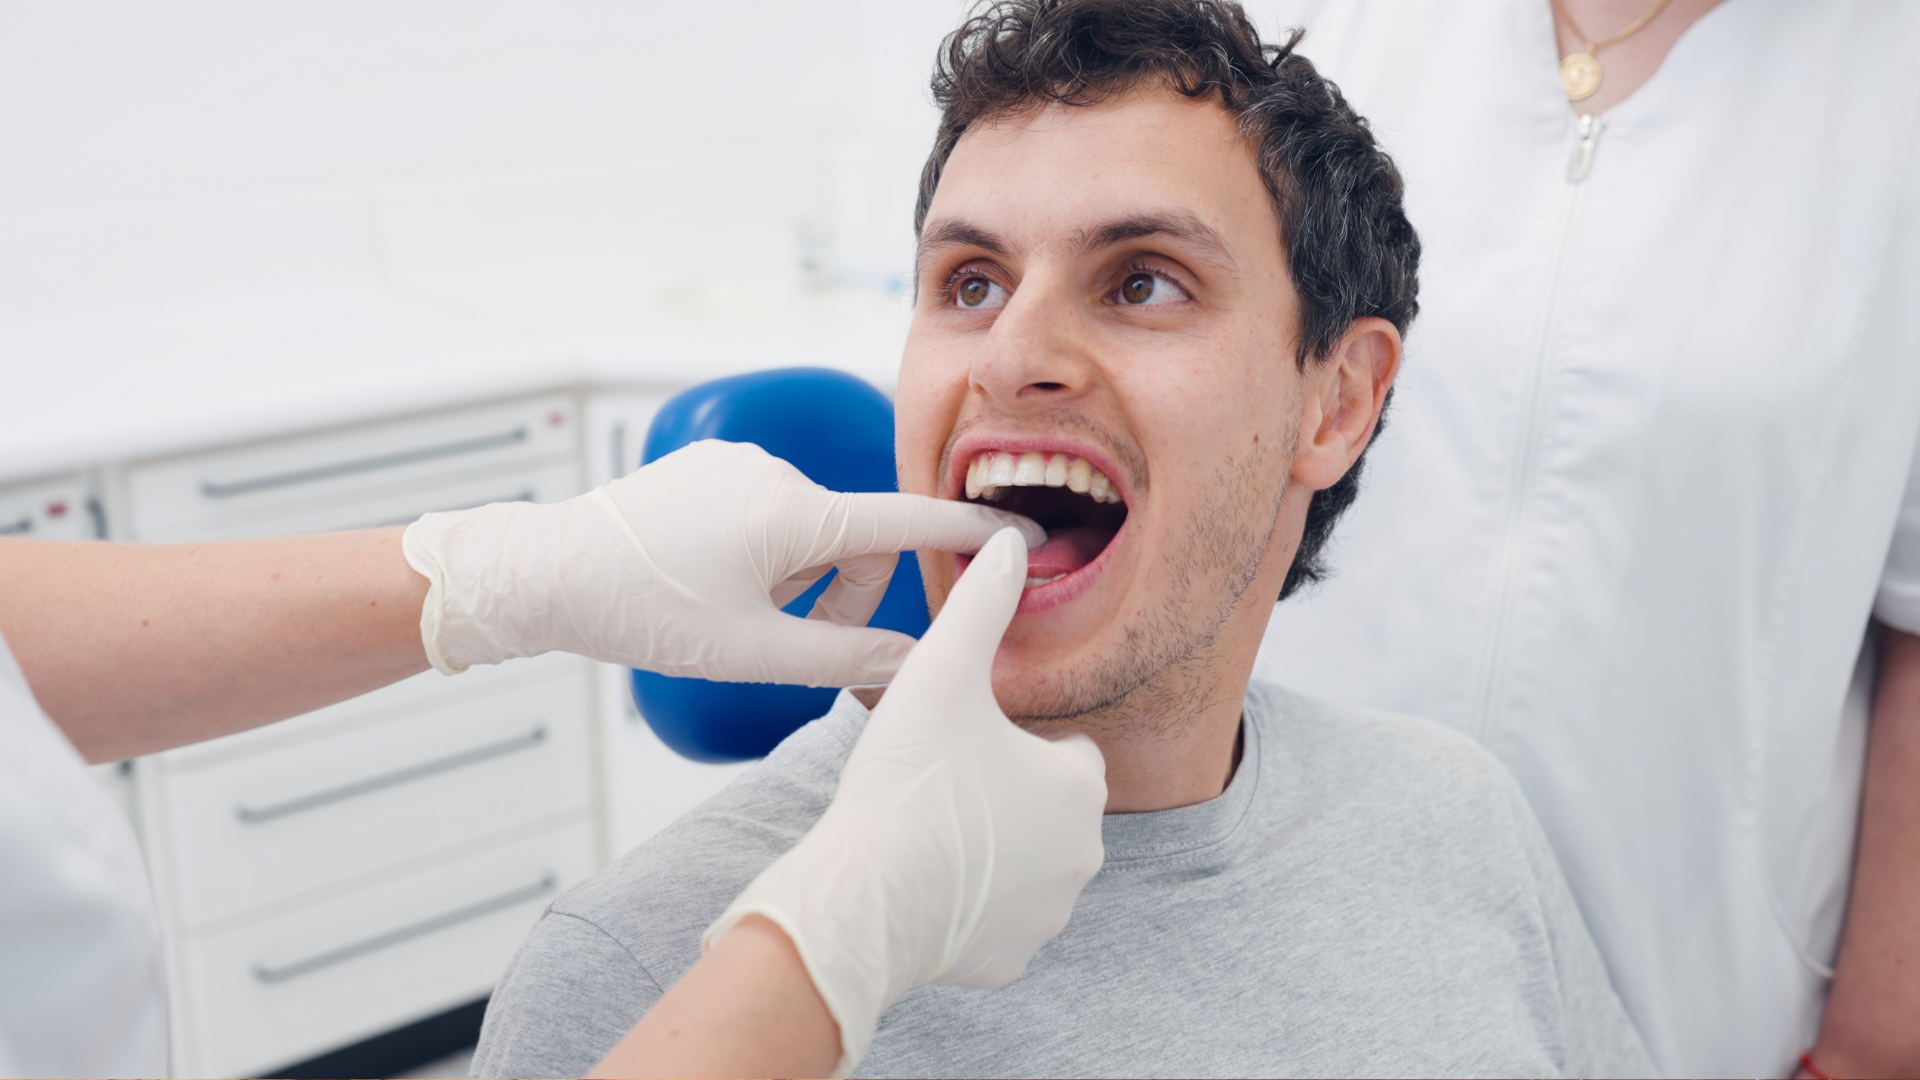
Step 6: Veneer Try-In and Final Bonding
Once your custom veneers return from the lab, we perform a try-in. They’re placed temporarily using a non-permanent bonding gel so you can evaluate their color, shape, and comfort.
After you approve, the teeth are cleaned, etched, and coated with bonding resin. The veneers are then positioned precisely and cured with a special light to harden the cement.
The result? A smile that’s radiant, natural-looking, and designed to last a decade or longer with proper care.
Common Myths About Veneer Preparation
Let’s clear up a few misconceptions:
Myth 1: Veneers require shaving your teeth down to stubs.
False. Modern veneer prep is conservative — typically removing less than 1 mm of enamel. At Bryant Street Dental, we focus on preserving your natural structure.
Myth 2: Veneer prep is painful.
Most patients feel no pain at all during preparation. Local anesthesia ensures your comfort, and post-procedure sensitivity is usually minimal and temporary.
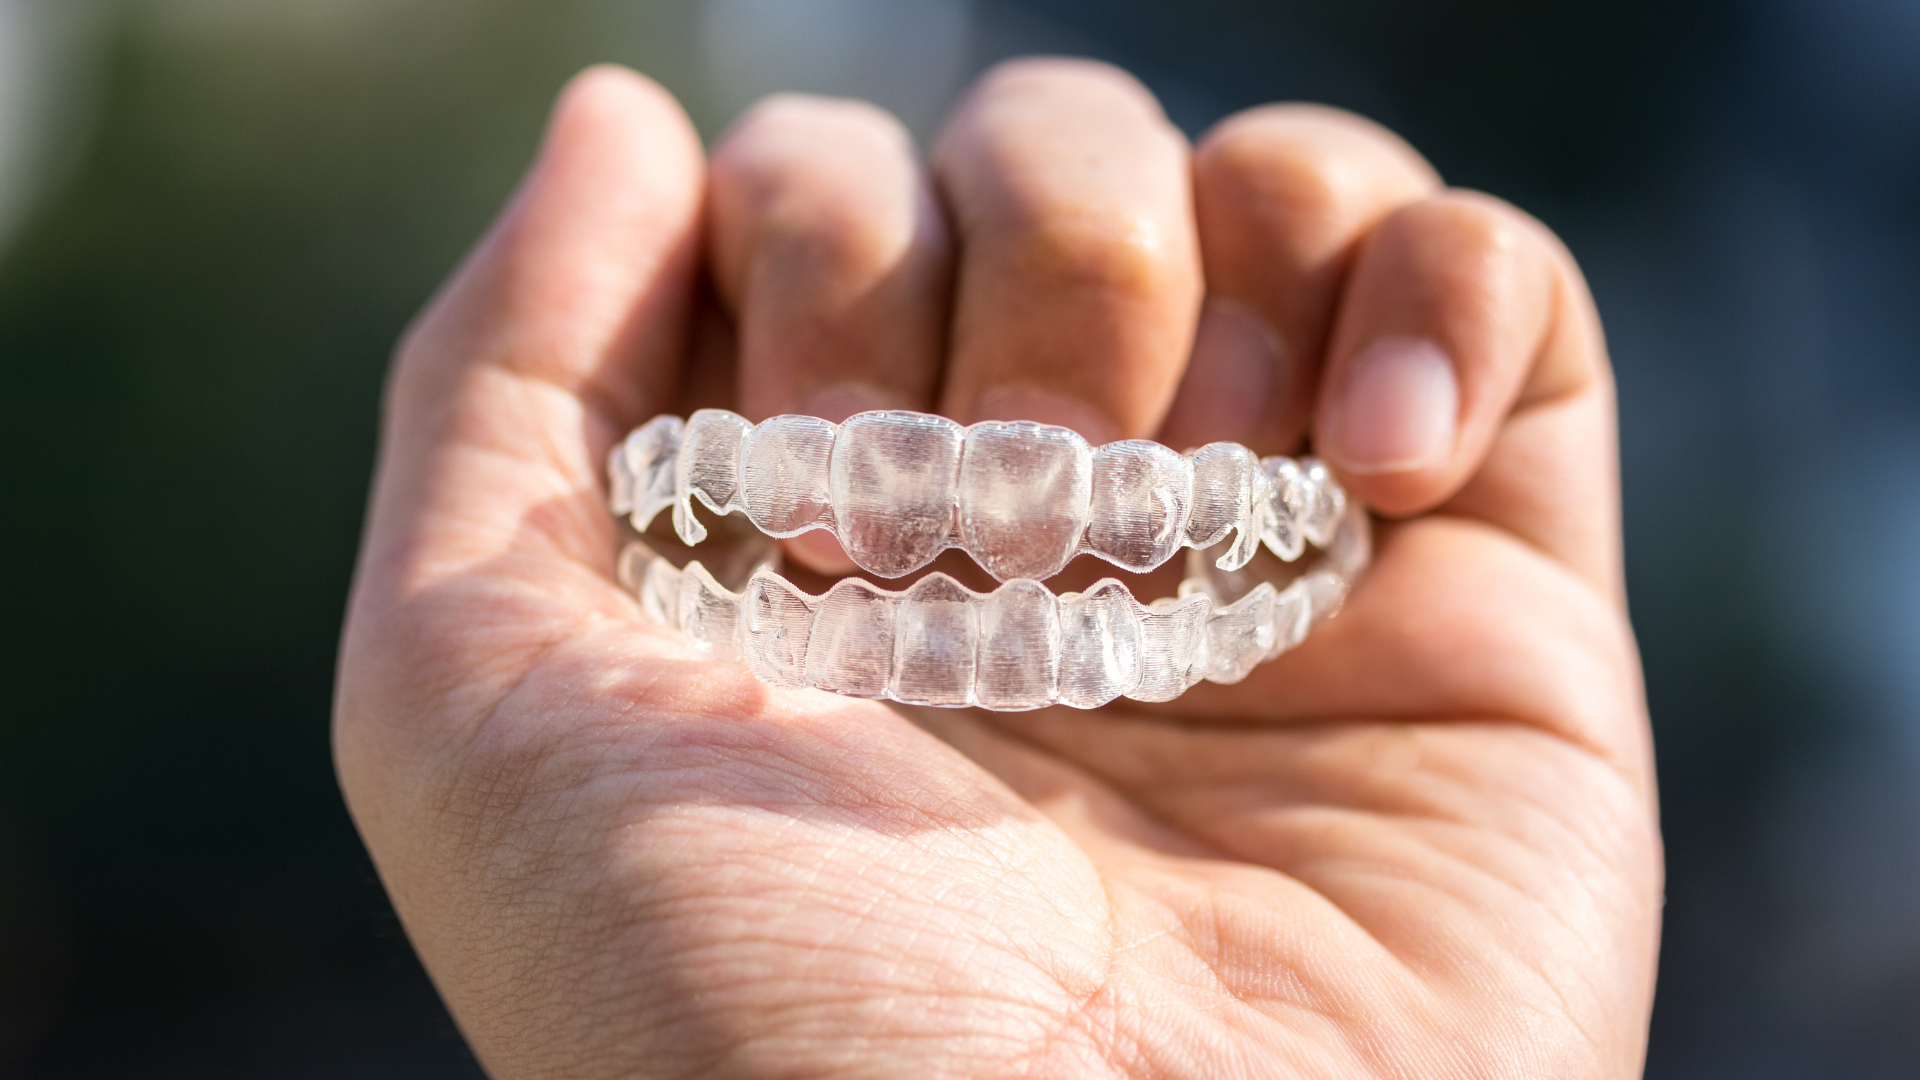
Myth 3: No-prep veneers are better.
“No-prep” or ultra-thin veneers work for select patients but aren’t right for everyone. They’re ideal if you have small teeth or gaps, but not for cases requiring alignment correction or color masking.
Your dentist in Palo Alto will determine which approach best suits your smile goals.
Aftercare Tips Following Veneer Preparation
Once your teeth are prepped (and later, after bonding), maintaining good oral care is key to protecting your investment:
- Brush and floss daily with a soft-bristle toothbrush and non-abrasive toothpaste.
- Avoid biting hard objects like pens or ice to prevent chipping.
- Schedule regular cleanings at Bryant Street Dental to keep your
veneers and gums healthy.
- Wear a nightguard if you grind your teeth at night.
With proper maintenance, veneers can last 10–15 years or even longer.
Why Choose Bryant Street Dental in Palo Alto, CA
Choosing the right cosmetic dentist is just as important as choosing veneers themselves.
At Bryant Street Dental, we’re proud to offer:
1. Advanced Digital Technology
We use 3D scanning, digital imaging, and smile simulation tools to ensure perfect accuracy and aesthetics — every time.
2. Conservative, Natural Approach
Our philosophy centers on preserving as much natural enamel as possible. Veneers should enhance your smile, not damage it.
3. Expert Cosmetic Team
Our highly trained team has years of experience performing veneer preparations and full smile makeovers in Palo Alto, CA.
4. Personalized Care
Every patient receives a customized plan. We take time to understand your needs, lifestyle, and goals before recommending treatment.
5. Local Expertise
As a trusted Palo Alto cosmetic dentist, we’ve helped countless patients achieve beautiful, natural smiles that look great in person — not just in photos.
Frequently Asked Questions
How long does veneer preparation take?
Typically 1–2 hours, depending on how many teeth are being treated.
Do I need anesthesia?
Yes, local anesthesia is used for your comfort. Most patients report feeling no discomfort during the procedure.
Can veneer prep damage my teeth?
When done correctly — and conservatively — preparation does not harm your teeth. In fact, it helps create a long-lasting foundation for veneers.
Can I get veneers without any prep at all?
In select cases, yes — but your dentist will determine if you’re a good candidate for no-prep or minimal-prep veneers.
The Bryant Street Dental Difference
At Bryant Street Dental in Palo Alto, we combine precision with artistry. Each veneer case is treated like a unique piece of craftsmanship. From your initial consultation to your final reveal, we guide you with care, transparency, and expertise.
Whether you’re correcting discoloration, chips, misalignment, or gaps, our veneer process ensures that your teeth are prepped with accuracy and attention to detail — setting the foundation for a smile that looks and feels amazing.
Ready to Transform Your Smile?
If you’re considering veneers and want to learn more about the preparation process, schedule a consultation at Bryant Street Dental in Palo Alto, CA.
Our team will walk you through every detail — from digital previews to final results — so you can achieve a confident, healthy, and radiant smile.
Final Word
Understanding how teeth are prepped for veneers helps you appreciate the blend of science and artistry behind every beautiful smile. With an expert team, advanced technology, and a minimally invasive approach, Bryant Street Dental ensures that every patient leaves with a stunning smile — and peace of mind that their natural teeth are protected for years to come.
Disclaimer: The information above is for general educational purposes only and should not be considered medical advice. Individual results may vary; treatment outcomes depend on each patient’s unique needs and oral health. Please schedule a consultation with Bryant Street Dental or your qualified dental professional in Palo Alto to discuss personalized treatment options.
Blog | Bryant St Dental